


Here is a Christmas Bauble Cube project and a Christmas 3 Layered Bauble project for everyone!
Project 1:
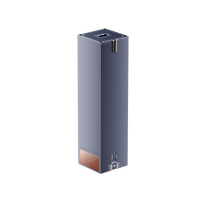
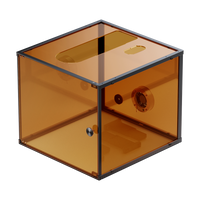
Christmas Bauble Cube
Images
Designed in Inkscape as well as importing some partial images.
Design work ~15 minutes.
Either download the images here or from the online repository linked in the about section or linked here: https://bit.ly/3VIOKsD
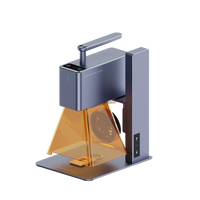
Settings
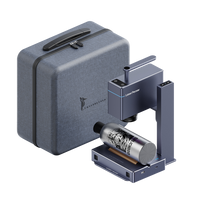
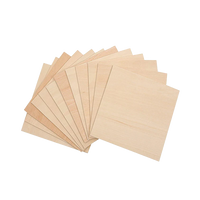
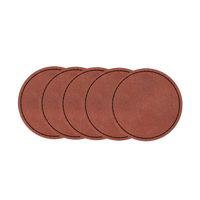
Material: Basswood Plywood 2mm
Settings: Gcode, Power-100, Depth-26, Pass-3
(Note: Your settings might well be different or you might need another pass depending on your wood)
Time: Total cut time 22 minutes (most complex side was 6 minutes).
Steps
1 - With the images (black), use Gcode mode and size to 65mm. They should be square.
2 - Bottom side has a hole so you can turn on and off a battery operated tea light if you put one in. Either tape or glue it to the bottom.
3 - Thread a string or other through the two holes in the top "star" side...
4 - Either tape or glue everything together from the inside, but leave one side untaped/ glued so that you can open it to add/ remove the battery operated tealight should you wish.
Notes
- You can also see a mini clip of cutting in action and also the bits left over from cutting.
- Don't forget to clean your cutting plate either! Look at the residue left behind and it smells!
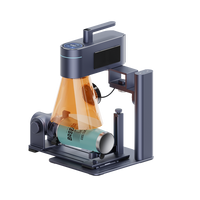
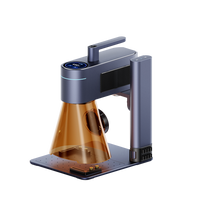
- Cut with the Android Laserpecker app.
Project 2
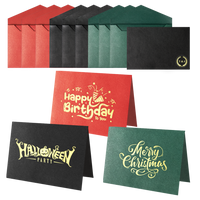
Christmas 3 Layered Bauble
Images
Designed from a design downloaded from the internet and altered for the LP in Inkscape.
Design work ~10 minutes.
Either download the images here or from the online repository linked in the about section or linked here: https://bit.ly/3VIOKsD
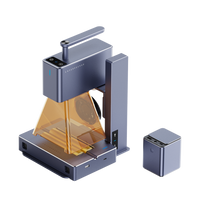
Settings
Materials: Basswood Plywood 2mm
Setting(cut): Gcode Power-100, Depth-26, Pass-4
Setting(Cut): Bin 1, Power-100, Depth-10, Pass-1
(Note: Your settings might well be different or you might need another pass depending on your wood)
Time: Total project time 15 minutes (most complex side was 5 minutes).
Steps
See overall image for what part needs engraving and which cutting. Engrave first then cut.
Width 70mm and hence Height will set itself to 85mm.
1 (engrave) then 2 (cut) for back layer Do not move anything before having completed the cut!
3 (engrave) then 4 (cut) for top layer Do not move anything before having completed the cut! 5 (cut) for middle layer
Note
- Colour (not necessary) then glue layers together.
- You can also see a mini clip of partial cutting in action.
- Don't forget to clean your cutting plate either!
- Cut with the Android Laserpecker app.
Enjoy!


